-
Navigate to the login page and click on the green “Login” button at the top right of the screen
Image
-
In the pop up click the “here” hyperlink.
Image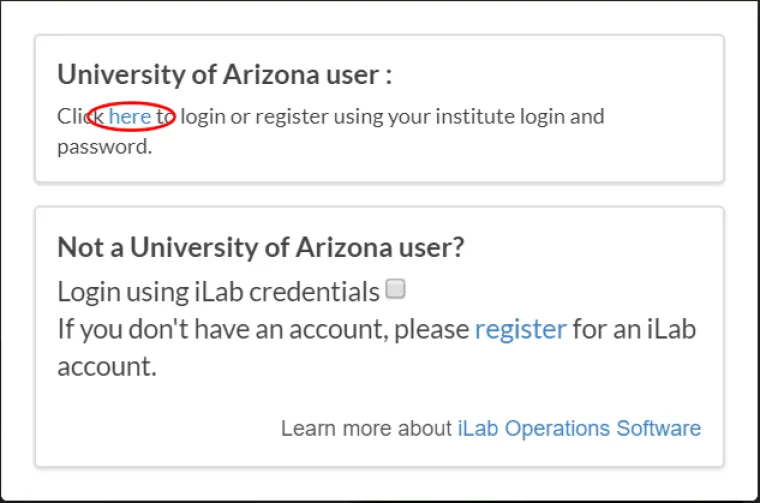
(You will bypass steps 3 and 4 if you are already logged into a U of A system via WebAuth.)
-
You will be directed to the WebAuth page where you will need to enter your NetID credentials and click the LOGIN button.
-
If you are setup for two-factor authentication you will need to provide authentication via the Duo-Mobile application.
-
If you do not already have an account you will be directed to an iLab Registration page where you will need to select your PI/Lab, and verify your contact information. You can be added to additional PI’s labs later, as necessary.
Image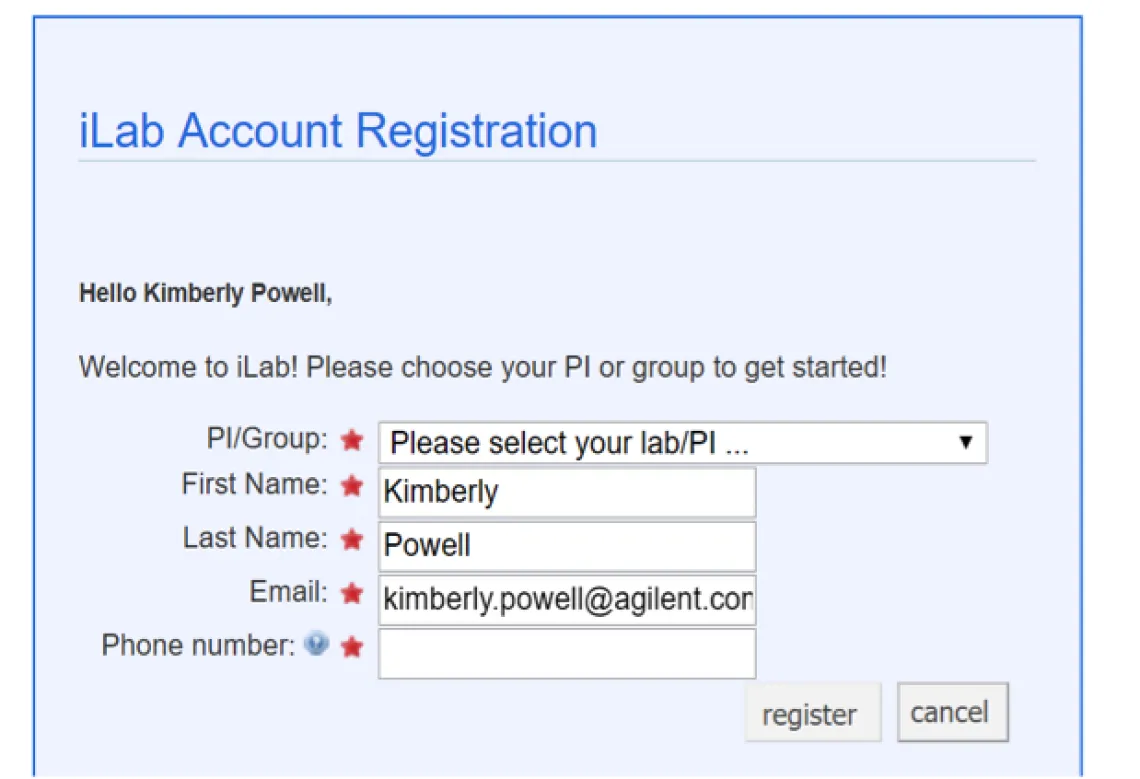
-
Once your registration has been submitted, your PI will receive a notification that you have requested membership to their lab within iLab. They will need to approve your membership and assign at least one financial account for you to be able to request services or schedule time on instrumentation.
The first time you login to iLab after being accepted into your PI’s lab you will need to set your time zone. Please set this as Arizona so that you are in sync with the equipment calendars. You will also have the opportunity to set your preferred email address for messages from this system. Once you have set these as appropriate click the ‘Set’ button. The changes will be registered to your account the next time you log out and log back in.